Accepting payments in your office is quick, convenient, and secure. Once your account is configured for in-person payments, you can either manually enter payment details or utilize our range of compliant card reader devices.
TABLE OF CONTENTS
- Preparing the Payment and Adding Items to Your Cart
- Processing Your Payment & Checkout
- Viewing the Receipt
Preparing the Payment and Adding Items to Your Cart
To get started, log into MuniciPay at https://my.autoagent.com. Access can be provided to your employees by other account users who have the proper user create permissions enabled.

To confirm you are set up for in-person payments, you should see a Run Transaction button on the far right:
Select the Department(s) / Item(s) that you want to add to your shopping cart. You should also see a list of recent items you've processed at the bottom of the screen for quick access to the items you use most.

If the item is configured to accept custom input fields, you can fill them out and choose Add to Cart or Add & Checkout depending on your preference.
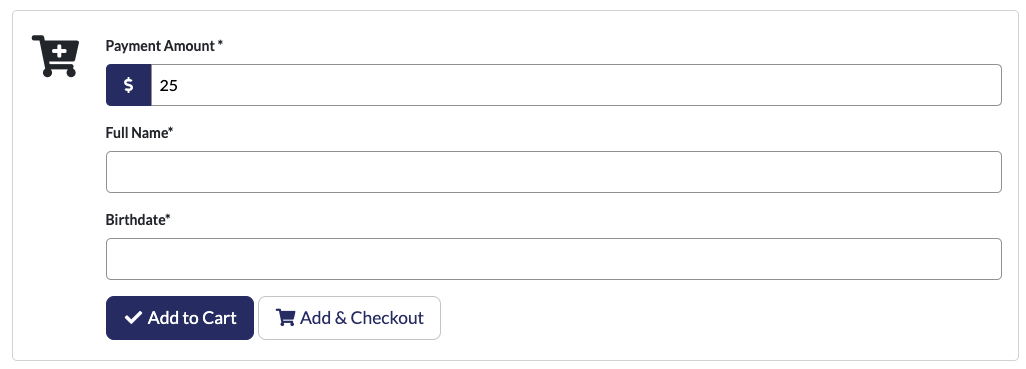
Continue to add the remaining items to your cart, or when ready to complete your payment, select Checkout Now from the View Cart page to choose your payment method.
Processing Your Payment & Checkout
Depending on your configuration, you should have several options for checkout. If you are missing an option, please contact our support team to have it enabled for you.
Insert Credit / Debit
Note: To use this payment method, you will need a card reader device.
Determine how you want to populate the cardholder name:
- Auto-fill: Will retrieve the name from the card when you swipe it
- Manual: Allows you to key in the first and last name
You can also enter an e-mail address to send a receipt to and/or an optional internal note or account number to reference the transaction (useful for invoices, permit #s, etc that are not collected on the individual items).

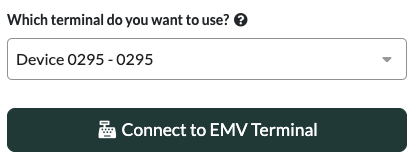
On the right of the screen you'll be able to confirm your transaction details including the amounts being charged. We recommend confirming with your customer that they agree with the amounts, especially if there is a service fee charge associated. When ready, select the card reader device that you want to use (it will default to your last used device for convenience) and press Connect to EMV Terminal:
Using IDTech Augusta Devices
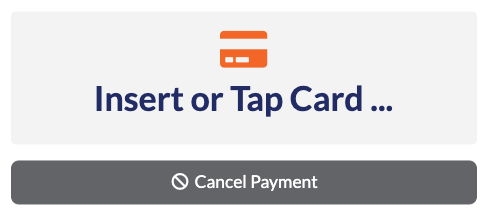
If using the IDTech Augusta Device, you'll be presented with a pop up when its time to swipe or insert your card. When prompted, swipe or insert your card. The status will change to the following when the card is processing. Please do not switch windows or click outside the box while it is processing.
All Other Devices Including Ingenico or Clover
- If using any other device, you'll be presented a pop up when its time to swipe, insert, or tap your card. The display on the device should indicate the amount and pop up on screen will look like this:


- For swipe / insert the status will change to the following when the card is processing.

For tap (including tap or other digital wallets), due to Contactless regulations, the Payer will need to tap for each transaction being charged. In most circumstances, this will be one for the service fee and one for the items in the cart.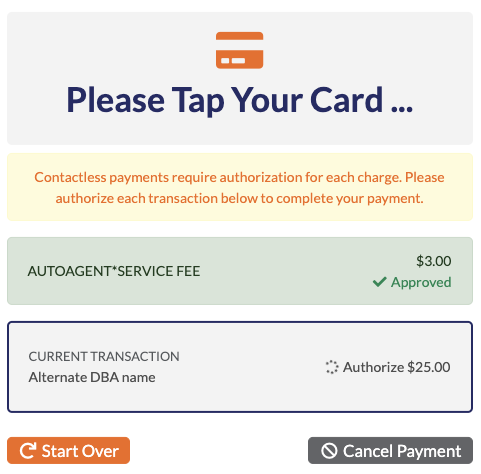
Manual Key-In
To manually key in credit or debit card payments, select the MANUAL KEY-IN tab. This option can be used if you do not have a card reader or it is not working with the card you are attempting to process.

In-Person Cash / Check
You can accept cash or in-person check payments and produce receipting through MuniciPay using this option. Simply enter an optional name and email an select your payment type of Cash or In-Person Check from the right. When selecting Cash, you can input the actual dollars exchanged and the cart will produce the correct change amount:
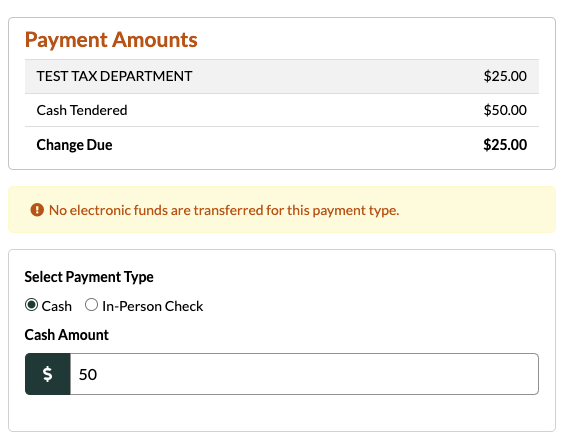
When ready, hit the Submit Payment button to log your payment.
ACH / ECHECK
To accept electronic checking or savings payments, select the ACH / ECHECK option.

Complete all fields marked with an asterisk (*). A customer’s email address or telephone number can be entered to send them a receipt, additional contact details, and an internal note or account number if needed.
On the right-hand side, review the Transaction Summary box which will display the transaction amount along with the service fee. We recommend confirming with your customer that they agree to the fees. Then enter:
- Checking / Savings Account Type
- Bank Routing Number
- Account Number
Note: For corporate accounts, ensure the customer had their bank add your **Originator ID Number** to avoid debit block issues. For credit union accounts, confirm you are using the correct account number, as it may differ from what’s printed on the check.
When ready, hit the Submit Payment button to log your payment.
Viewing the Receipt
After the transaction is successful, the system will display a confirmation. You will have the option to email the receipt to additional recipients, print it, or proceed with another transaction.

Was this article helpful?
That’s Great!
Thank you for your feedback
Sorry! We couldn't be helpful
Thank you for your feedback
Feedback sent
We appreciate your effort and will try to fix the article

